Tutorial: Using the Workbench
This section will walk you through creating your first eQual application with the Workbench. The app can be found at http://equal.local/workbench/. (This may change if you modified the docker-compose.yml.)
The Workbench
The Workbench is a tool intended to help you build your apps visually, without worrying about the code (as much as possible).
Creating Your First Component
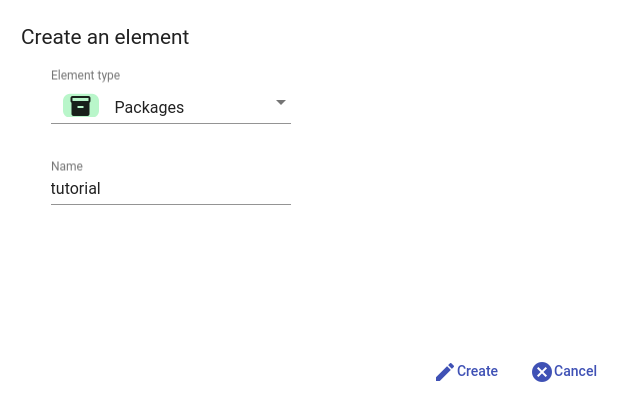
The first step to your application is packages. Note that you will have to respect the naming convention of each component to be able to create them.
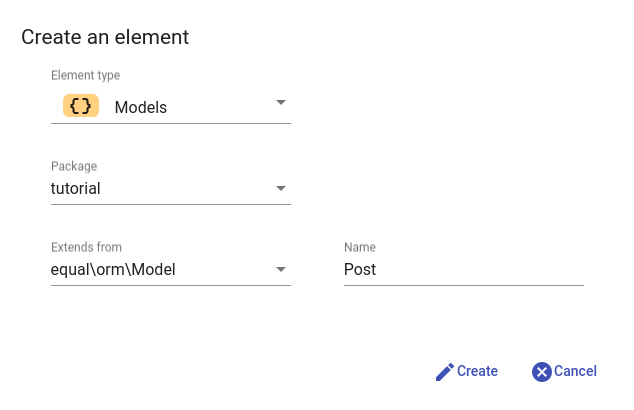
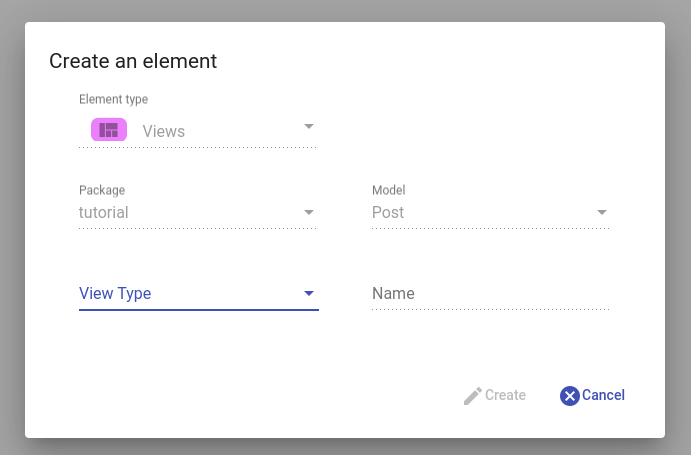
Let's start by creating a package called tutorial and the Model tutorial\Post using the component creator:
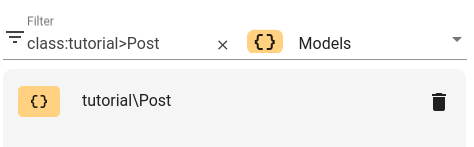
Using the Base Menu
By using the base menu, you can easily find the components you need. Let's look for our newly created Model:
Editing Your Components
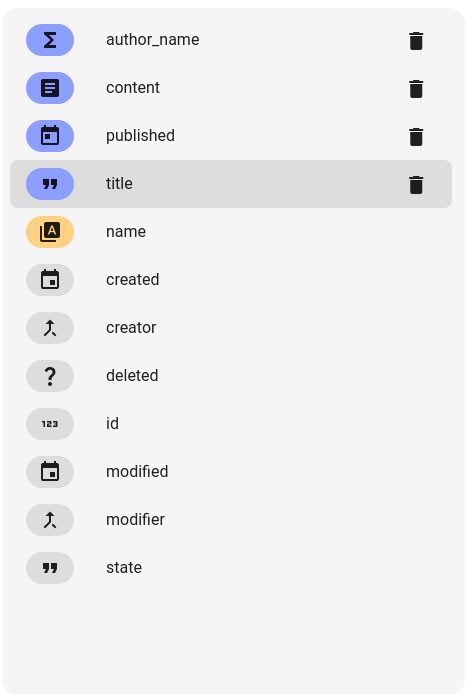
Let's add properties to our Post Model:
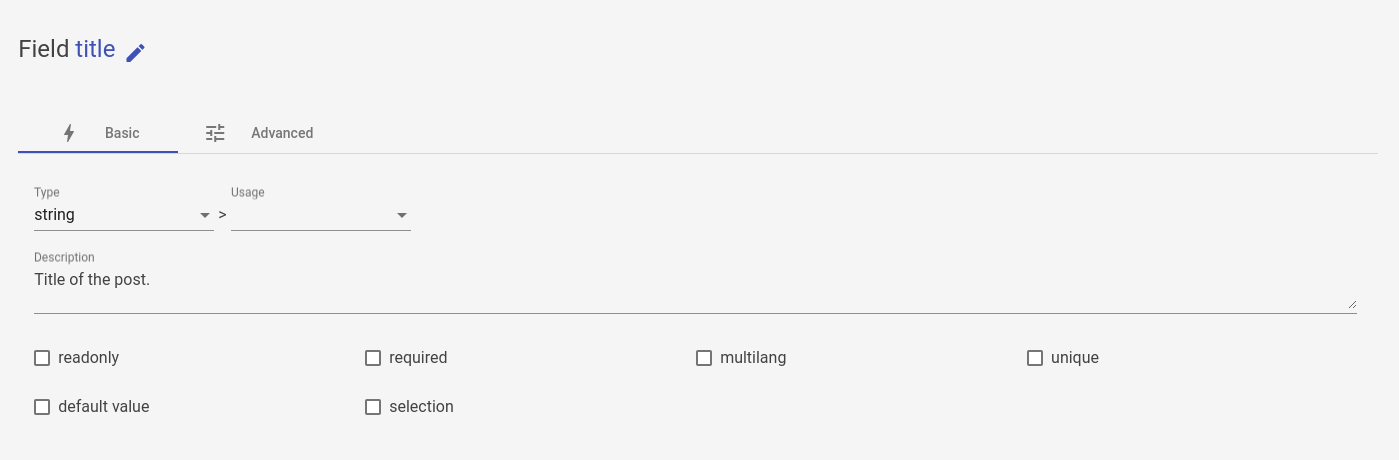
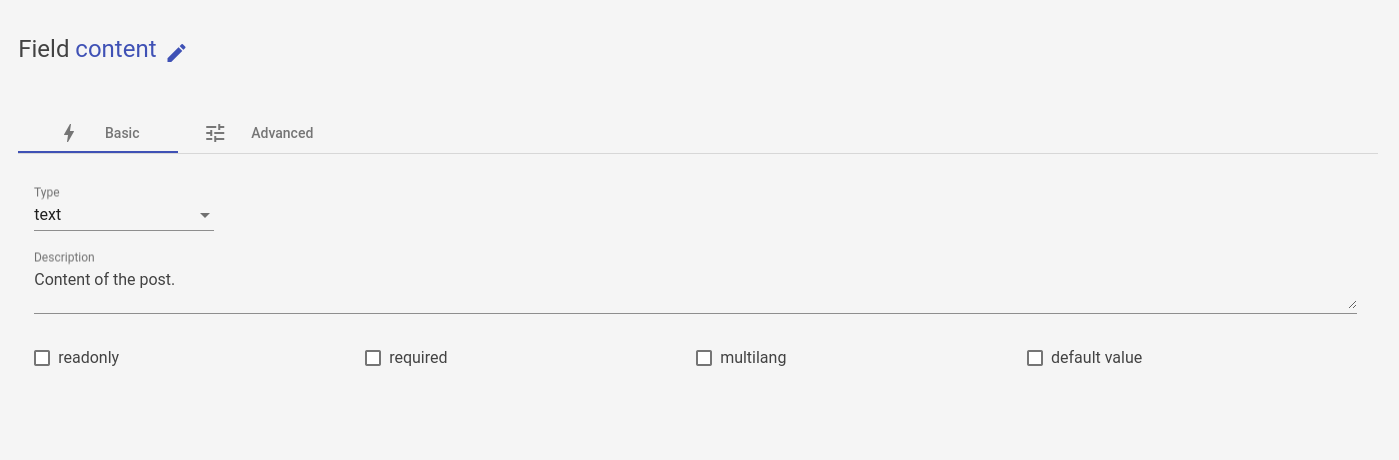
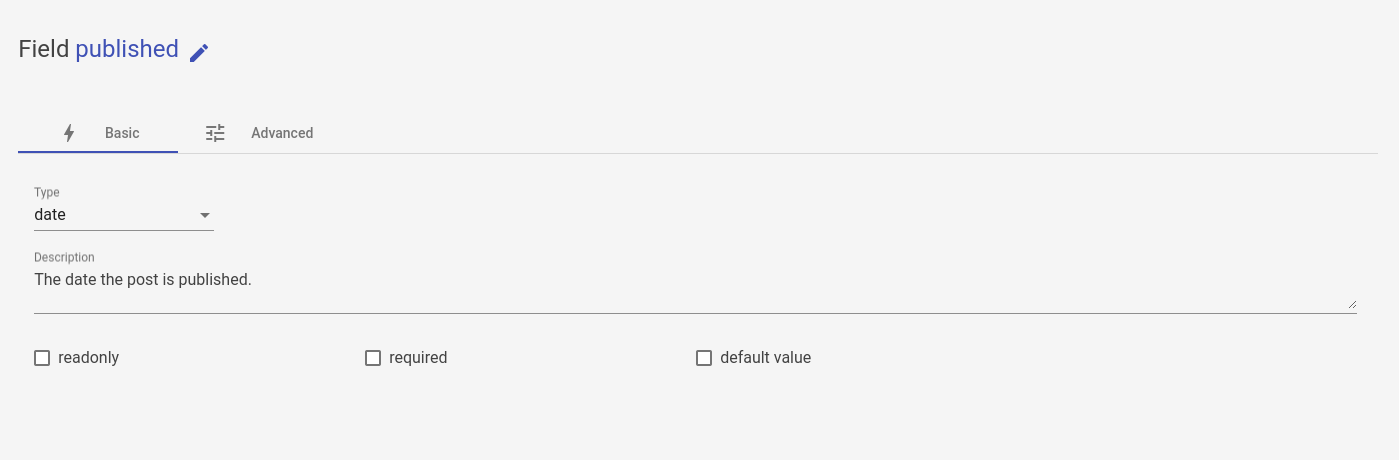
Once you have these fields, you can save the model:
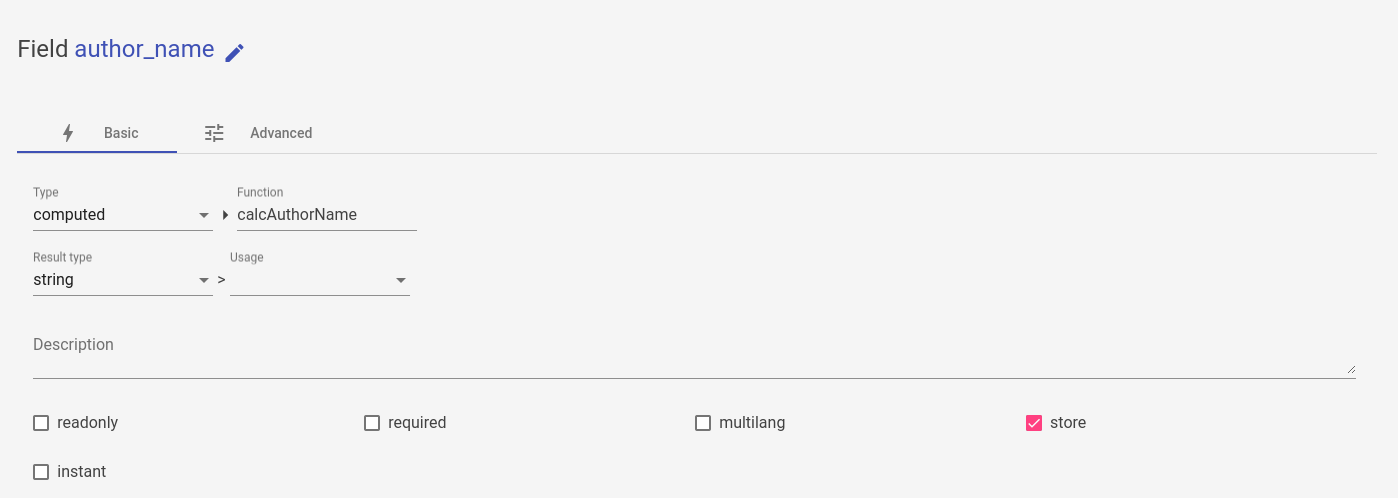
You will need to add the function for the computed in the PHP file (you can find it at /packages/tutorial/classes/Post.class.php) to make it work. Workbench does not allow logic editing for now.
<?php

public static function calcAuthorName($self){
    $result = [];
    $posts = $self->read(['id', 'creator' => ['fullname']]);
    foreach($posts as $id => $post) {
        $result[$id] = $post['creator']['fullname'];
    };
    return $result;
}
Translations
Let's translate our Model Post into English.
![]()
Creating Workflows
Let's create a workflow for Post. Set the name and icons as follows.

Creating Views
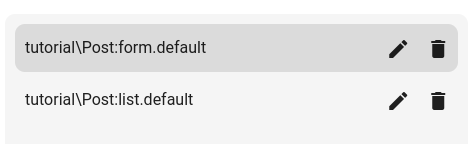
Let's create two views for Post using the view submenu: form.default and list.default (the basic view of a model). By clicking on the component creator, you can notice that the context is auto-filled into the fields.
You should end up with:
Editing Views
Edit the views of Post like this:
form.default:
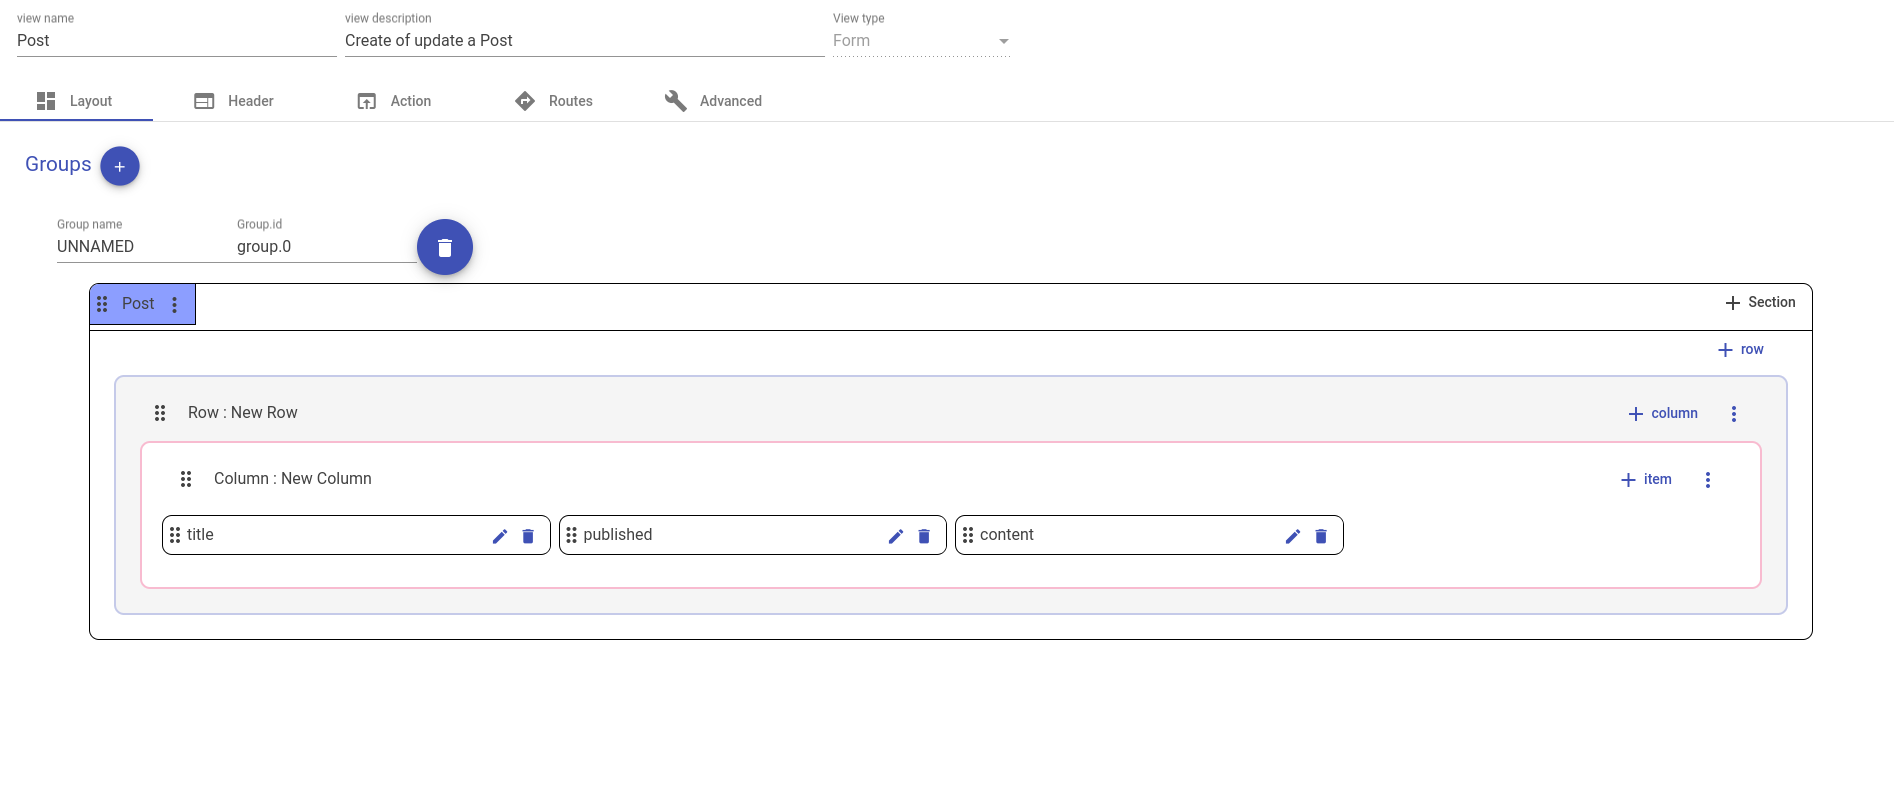
Items have a width of 25%.
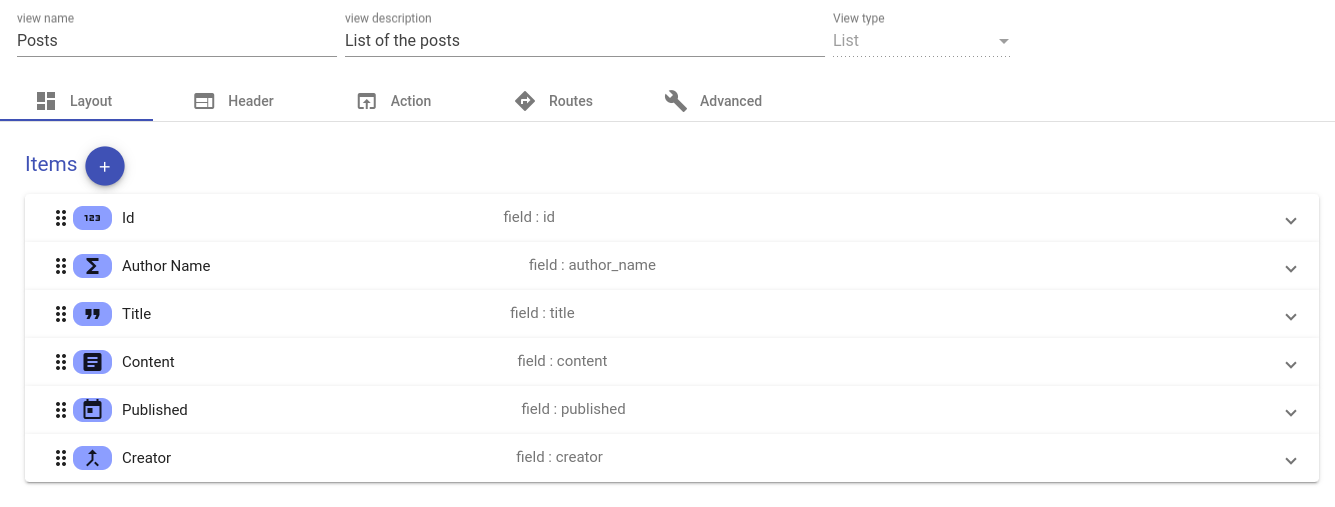
list.default:
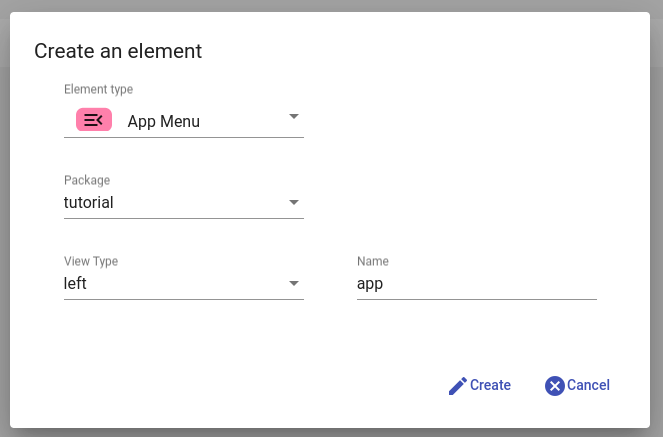
Creating Menus
Start by filtering the elements by menus. Then create a menu of type left and of name app in the package tutorial.
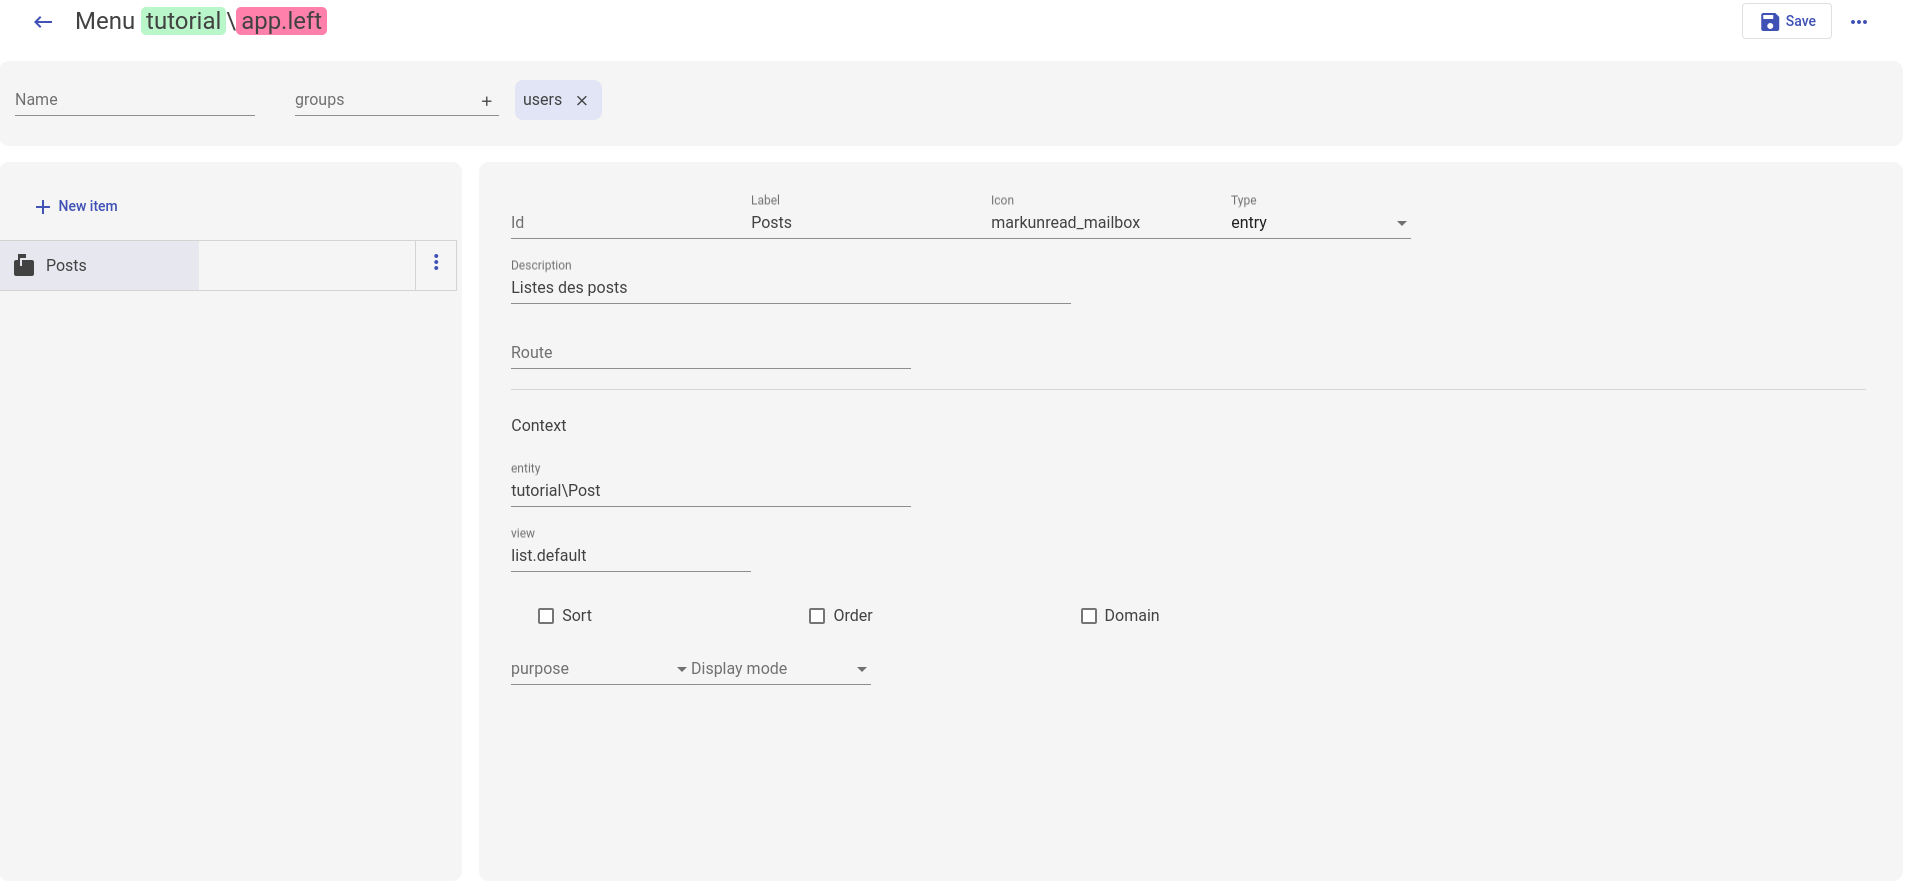
Then, open the menu editor and edit the menu like so:
Adding Data
Navigate to the package tutorial and create some posts for our blog by accessing the initial data button:

Initialize a Package
First, let's create the application for our package tutorial. Edit the manifest.json of the package as follows:
{
    "name": "tutorial",
    "description": "workbench tutorial package",
    "version": "1.0",
    "author": "YesBabylon",
    "license": "LGPL-3",
    "depends_on": [ "core" ],
    "apps": [
        {
          "id": "blog",
          "name": "Blog",
          "extends": "app",
          "description": "blog",
          "icon": "ad_units",
          "color": "#3498DB",
          "access": {
            "groups": [
              "users",
              "admins"
            ]
          },
          "params": {
            "menus": {
              "left": "app.left"
            }
          }
        }
      ],
    "tags": [ ]
}
Then, let's use the initialize button of the package side menu.

- These checkboxes allow you to ask eQual to initialize the package's dependencies (and choose if you want to import their initial data) before initializing it.
- This checkbox allows you to choose if you want to import the initial data of the package.
You can initialize the package tutorial as follows.
If all goes well, you will see this message in your package side menu):

Now, if you return to the /apps of your instance, you should see the blog app appear:
Congratulations! You have created your first app using eQual Workbench.